
Results 1 to 10 of 41
 14Likes
 LinkBack URL
 About LinkBacks
-
11-09-2008, 11:53 PM #1At this point in time...


- Join Date
- Jun 2007
- Location
- North Idaho Redoubt
- Posts
- 26,960
- Blog Entries
- 1
Thanked: 13226 Start to Finish Razor Restore !!!!
This is a thread that I have been wanting to do for awhile, but these things take time, and half the time when I go out to the shop I forget the camera....
This restore I finally got pics of just about the whole process so I figured I would do a complete restore in pictures....
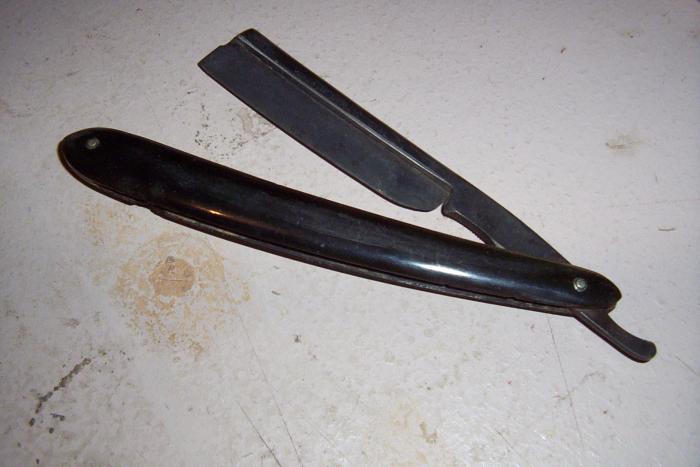
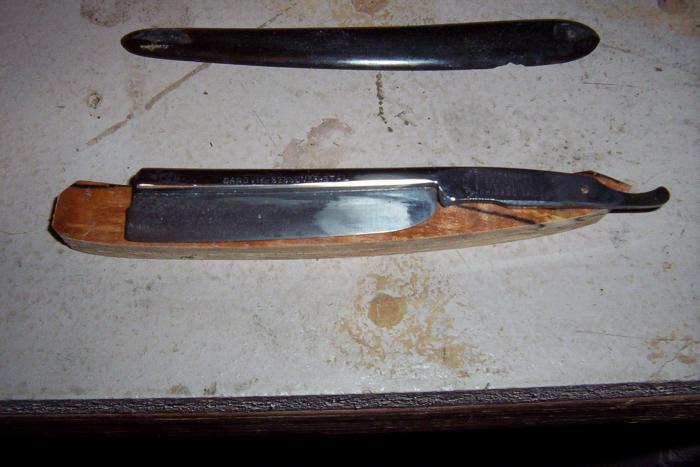
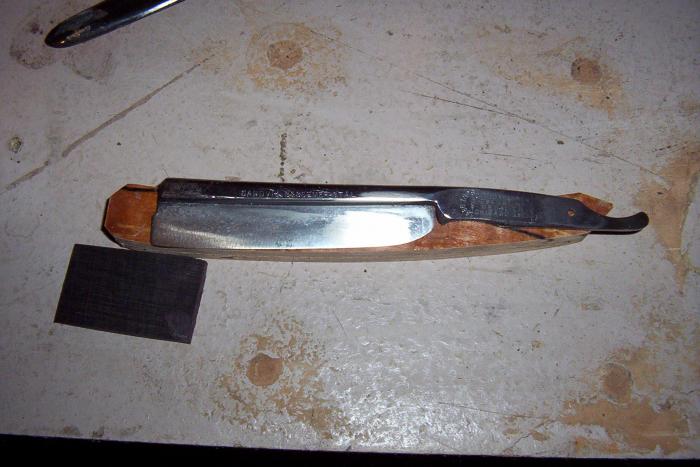
This is a C.W.Dahlgren Eskilstuna Medalier Chicago 1893 the proof marks show 1886, 1888, 1881, 1878 the frameback is stamped Sanvik Bessamer Stal.....
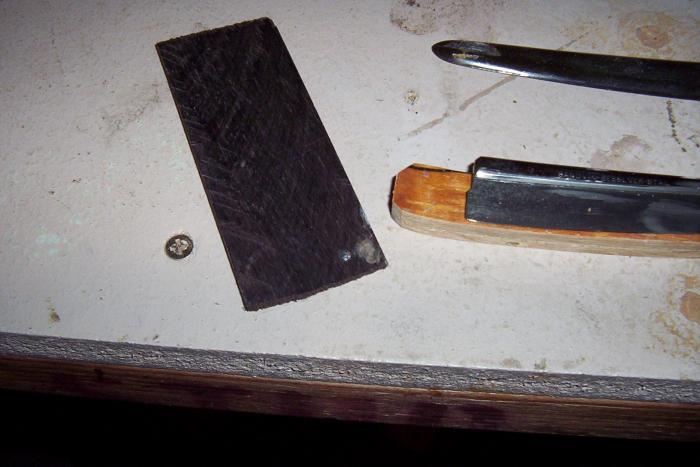
The scales are Spalted Apple, the wedge is Brown Ebony....
Nickel Silver pins and SS washers...
This one has 15 coats of Satin Wipe on Poly for the finish...Last edited by gssixgun; 11-10-2008 at 02:40 PM.
-
-
11-10-2008, 12:09 AM #2At this point in time...
- Join Date
- Jun 2007
- Location
- North Idaho Redoubt
- Posts
- 26,960
- Blog Entries
- 1
Thanked: 13226
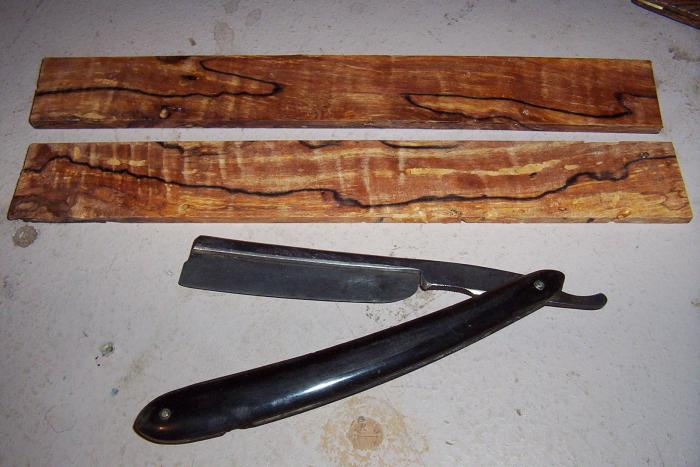
Starting out the razor has a very small touch of rust and some patina, the scales are shot...
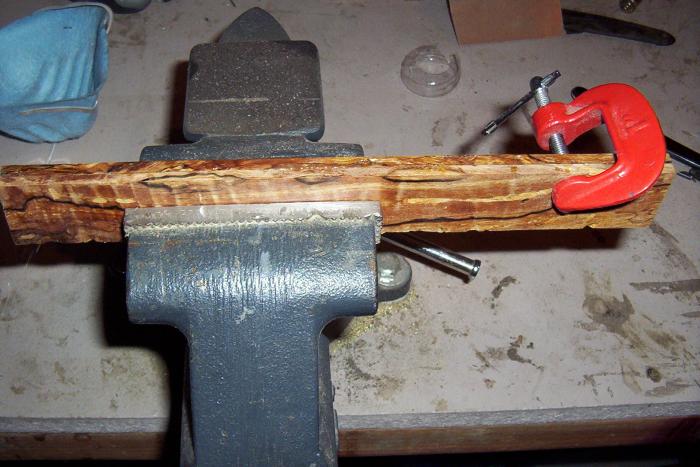
I have the wood cut at 3/16 thickness...
I put the wood together using rubber cement, make sure you leave the pattern that you want to show, to the outside...

I usually leave the wood in the vise and clamped up overnight
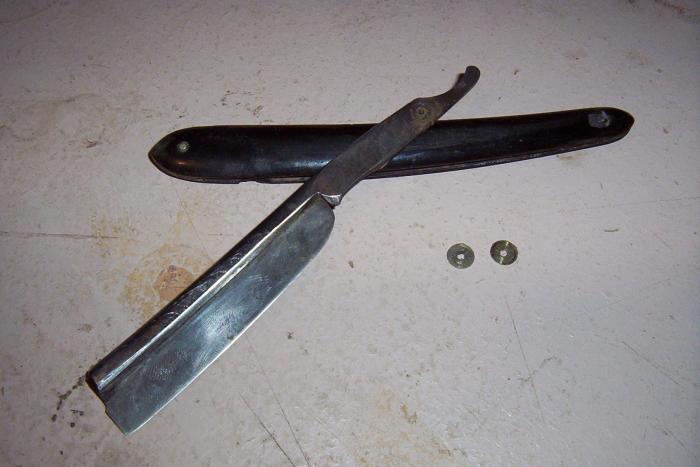
The razor all broken down, save everything !!!! you might need it....
Last edited by gssixgun; 11-10-2008 at 03:09 PM.
-
11-10-2008, 12:28 AM #3At this point in time...
- Join Date
- Jun 2007
- Location
- North Idaho Redoubt
- Posts
- 26,960
- Blog Entries
- 1
Thanked: 13226
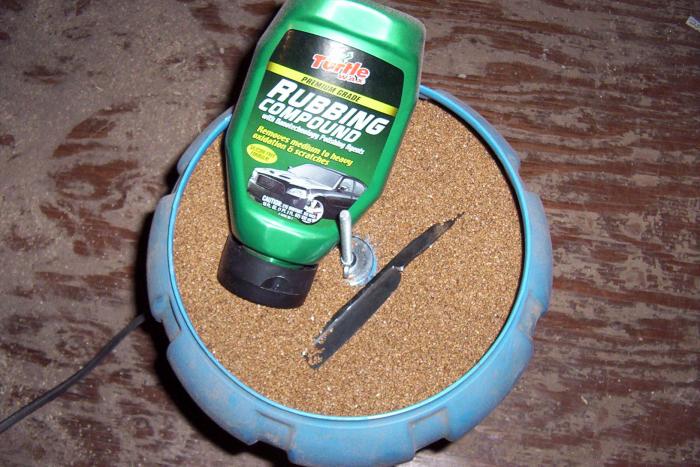
While I am working on the scales the blade will be spinning along, I use the Turtle Wax Rubbing compound in with the walnut media (re-fresh this about every 4 months) after 48 hours I will check the blade and use 800 grit sandpaper to take off any remaining spots and let it spin some more After that it will go through the same thing with Corncob media and Turtle Wax Polishing compound.... Keep in mind this will not take off rust or pitting....
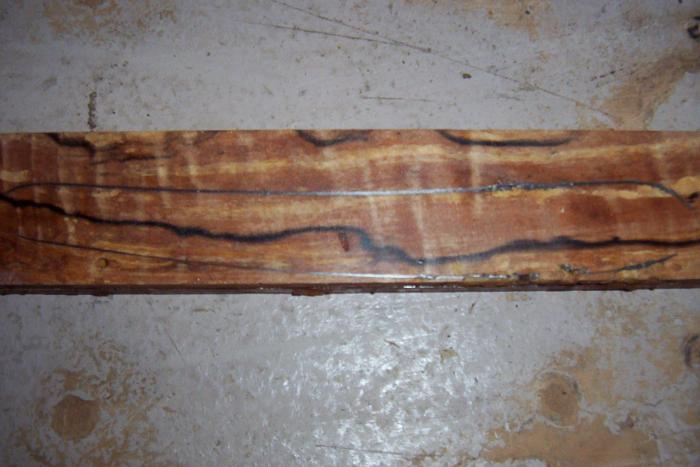
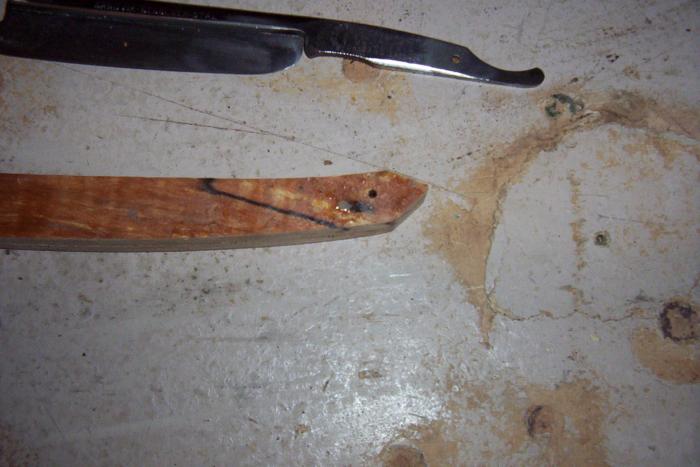
I use the old set of scales to get a rough idea of the size, and the curves I will need for the new scales
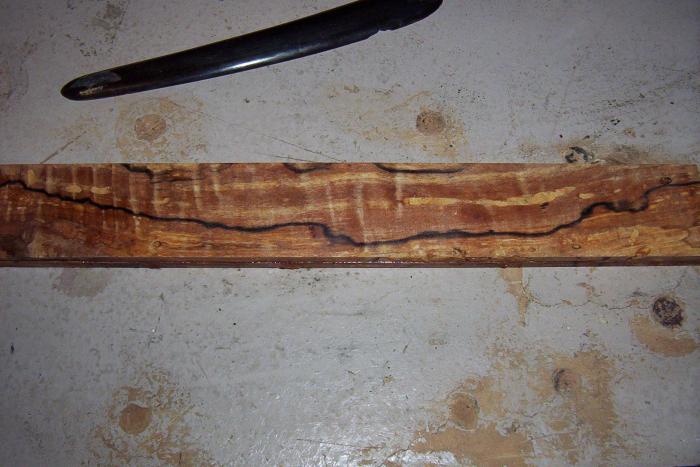
Note here, See how the scale is covering that veining on the wood ??? I want that to show in the new scales
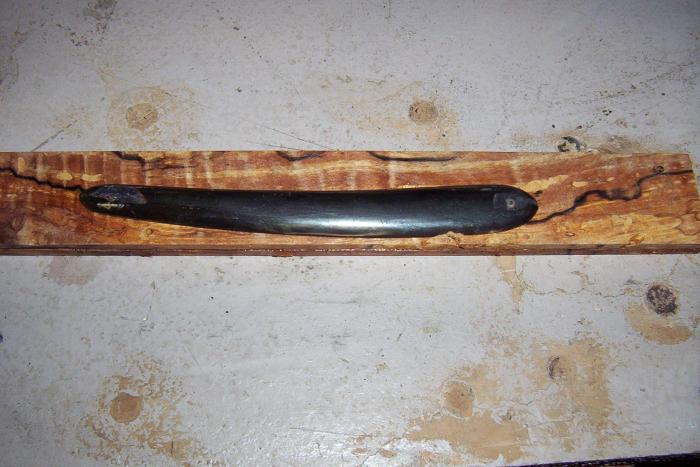
You don't have to do this but it does give you a starting point...
Last edited by gssixgun; 11-10-2008 at 03:12 PM.
-
11-10-2008, 12:45 AM #4At this point in time...
- Join Date
- Jun 2007
- Location
- North Idaho Redoubt
- Posts
- 26,960
- Blog Entries
- 1
Thanked: 13226
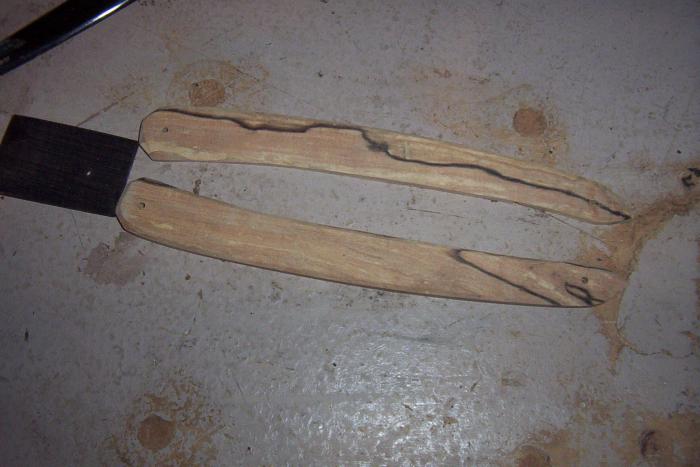
I rough cut the scales out of the blanks...
Leaving plenty of wood to play with shapes that I might want....

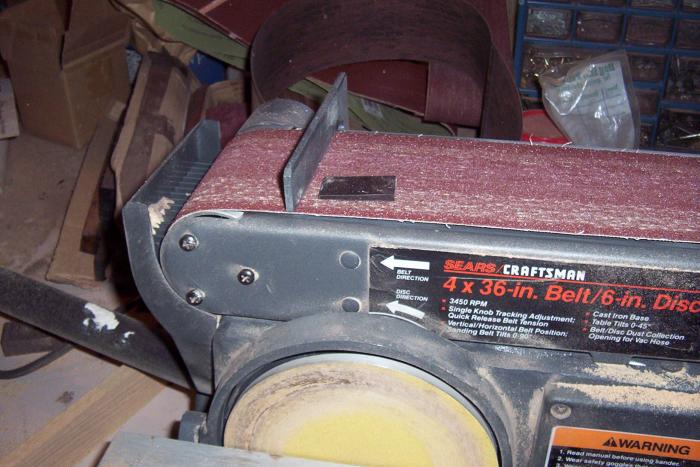
These rough cuts then move to a bench sander, and I work out the shape I want for the scales,
freehand....
My rule on scale design in general.... Let the wood do the talking, fancy wood?? Simple scales.... Simple wood???? fancy scales......
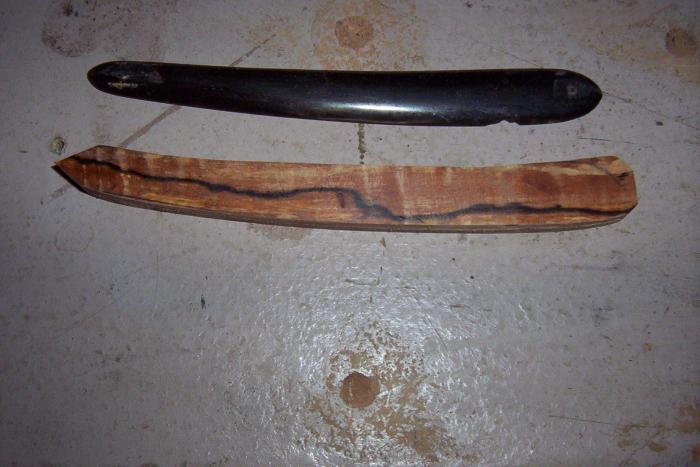
These are still oversized, but they are getting close to what I want now...
Last edited by gssixgun; 11-10-2008 at 03:15 PM.
-
11-10-2008, 01:01 AM #5At this point in time...
- Join Date
- Jun 2007
- Location
- North Idaho Redoubt
- Posts
- 26,960
- Blog Entries
- 1
Thanked: 13226
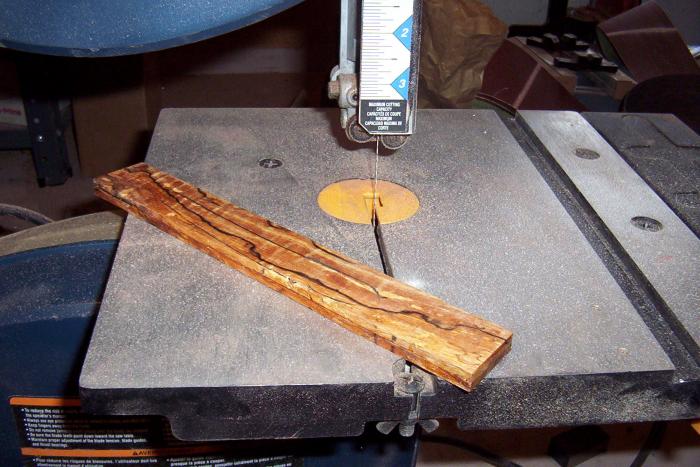
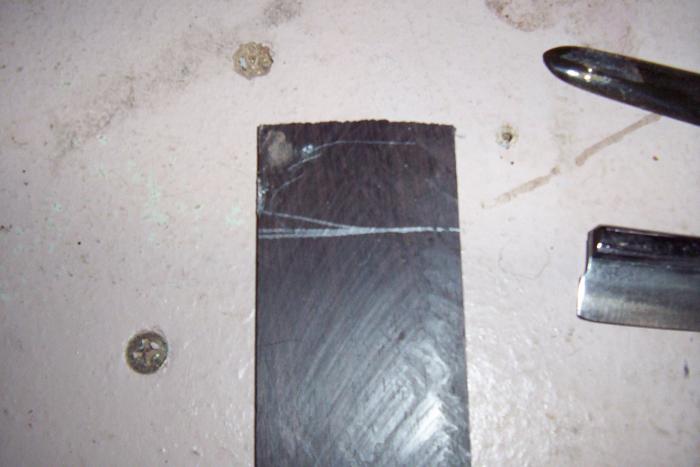
Just sizing out the razor to the scales...
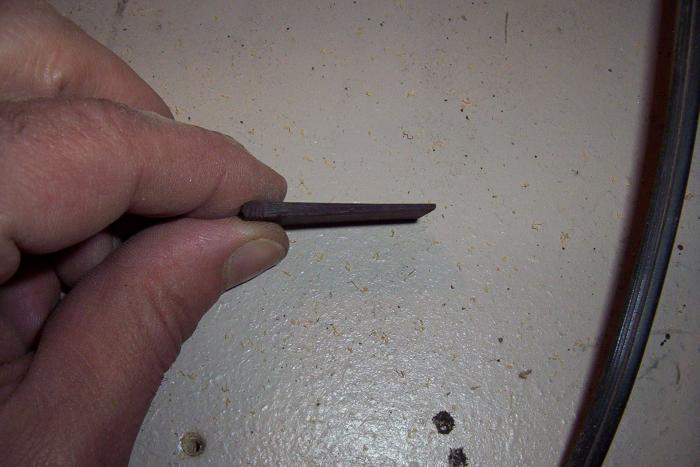
Deciding on the wedge...
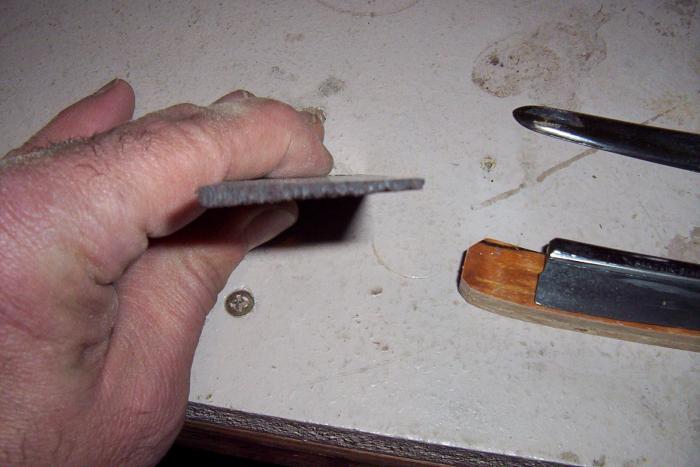
Sizing out the wedge
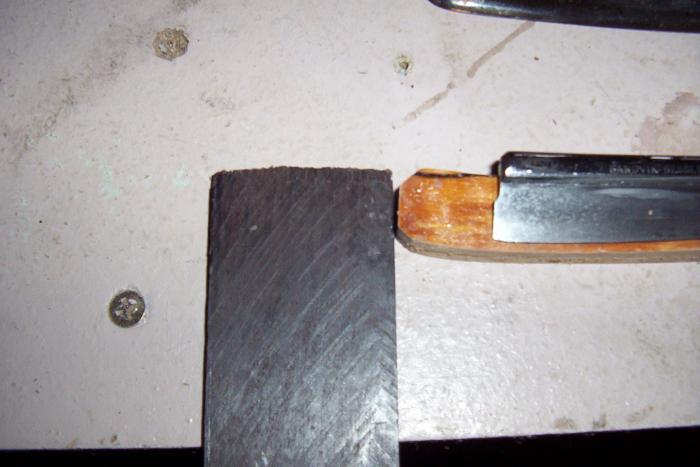
The wedge marked for cuts
Last edited by gssixgun; 11-10-2008 at 03:42 AM.
-
11-10-2008, 01:18 AM #6Senior Member

- Join Date
- Aug 2008
- Location
- Winston-Salem, NC
- Posts
- 474
Thanked: 66
Good thread idea! I did that same razor. I left the frame matte, and mirror finished the blade. I thought it was really cool like that.
-
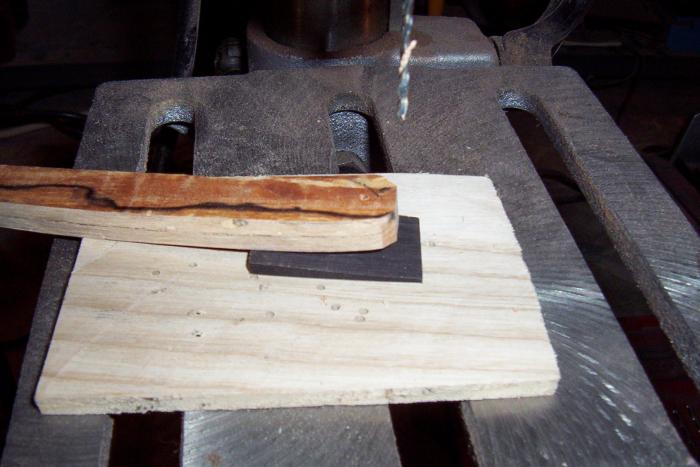
11-10-2008, 01:19 AM #7At this point in time...
- Join Date
- Jun 2007
- Location
- North Idaho Redoubt
- Posts
- 26,960
- Blog Entries
- 1
Thanked: 13226
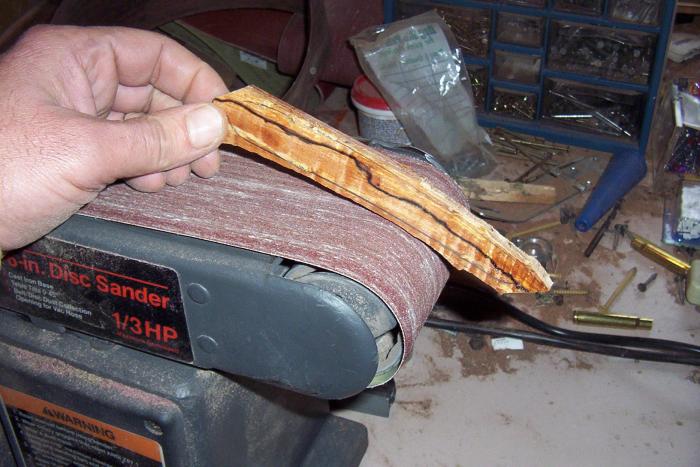
Scroll saws are a handy tool here
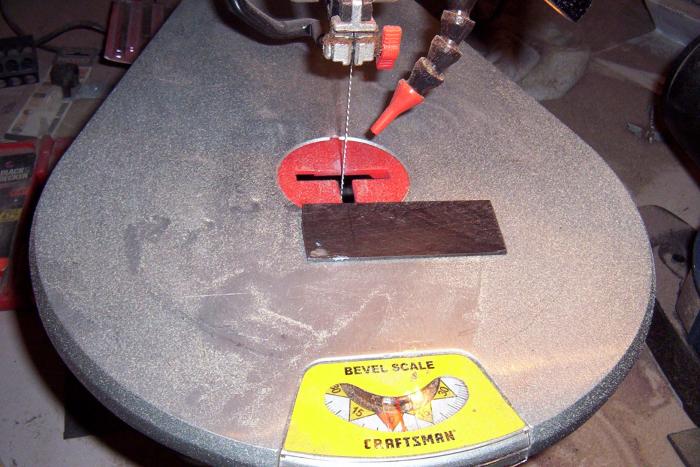
The wedge gets sized and sanded to the right angle...
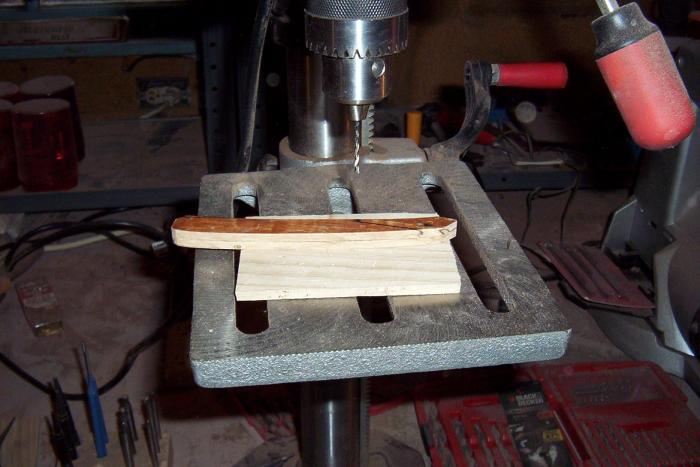
The moment of truth !!!!! when you drill the pivot hole, you ARE committed, so make sure you do it right....
If you mess up here it's back to the beginning....
Last edited by gssixgun; 11-10-2008 at 03:16 PM.
-
11-10-2008, 01:35 AM #8At this point in time...
- Join Date
- Jun 2007
- Location
- North Idaho Redoubt
- Posts
- 26,960
- Blog Entries
- 1
Thanked: 13226
Mark the razor swing angle so you know where the wedge is going to fit in, and where the wedge hole goes....
I have already drilled the wedge hole in the scales, I drill the hole through the wedge this way, as it never misses but that your choice....
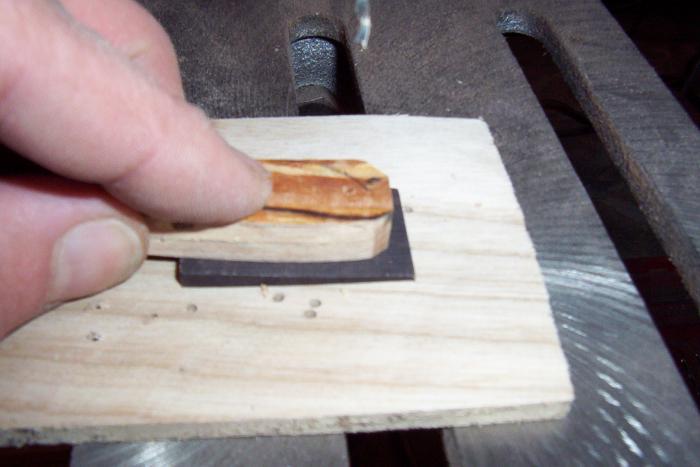
Ok some pics didn't turn out, but needless to say all ya missed was a lot of sanding, the scales were taken apart and sanded, shaped, and thinned down....
Last edited by gssixgun; 11-10-2008 at 03:56 AM.
-
11-10-2008, 01:58 AM #9At this point in time...
- Join Date
- Jun 2007
- Location
- North Idaho Redoubt
- Posts
- 26,960
- Blog Entries
- 1
Thanked: 13226
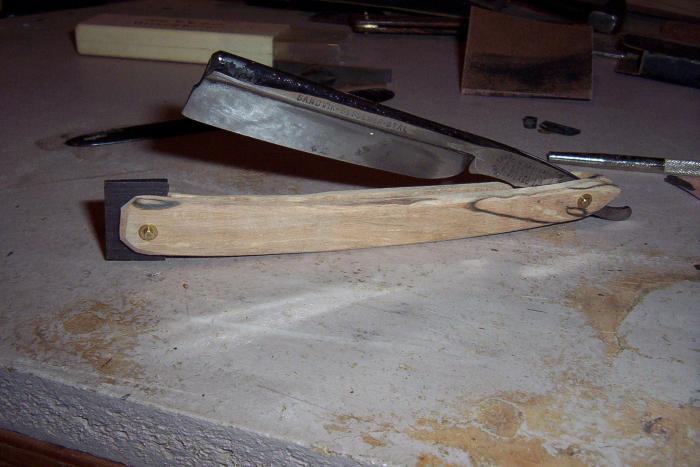
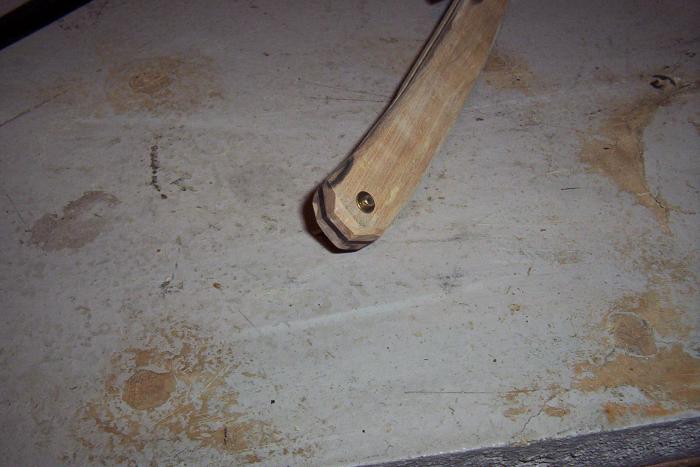
Testing the fit and function here using adjustable pins....
Look close here the wedge is hitting the razor, it needs some more fitting...
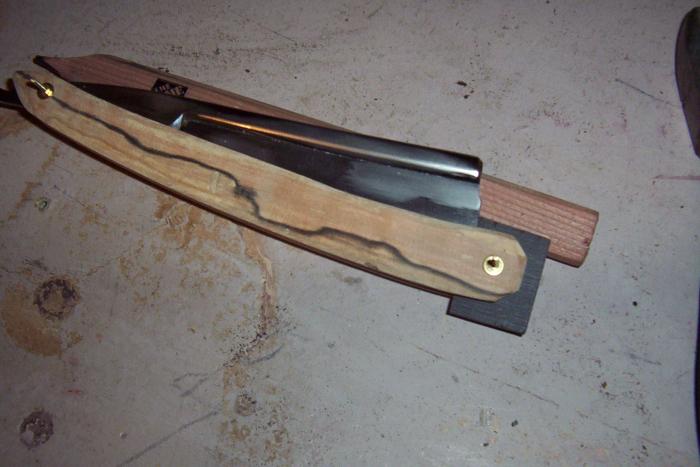
Ahhhhhh there we go about 1/8 inch clearance and everything fits together the right way now....

Make sure everything moves right and fits right....
Last edited by gssixgun; 11-10-2008 at 02:43 PM.
-
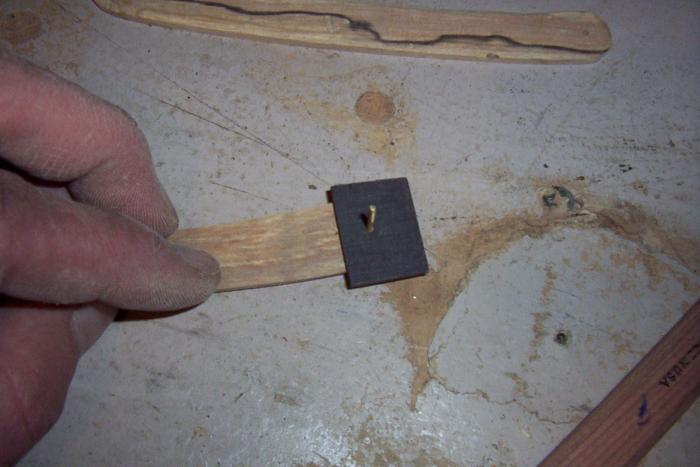
11-10-2008, 02:19 AM #10At this point in time...
- Join Date
- Jun 2007
- Location
- North Idaho Redoubt
- Posts
- 26,960
- Blog Entries
- 1
Thanked: 13226
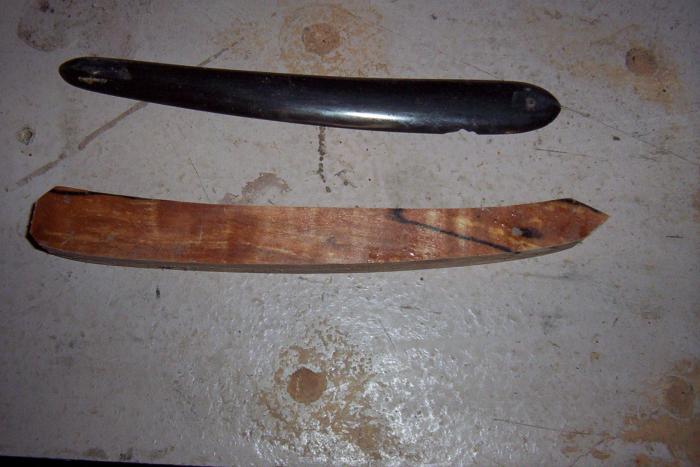
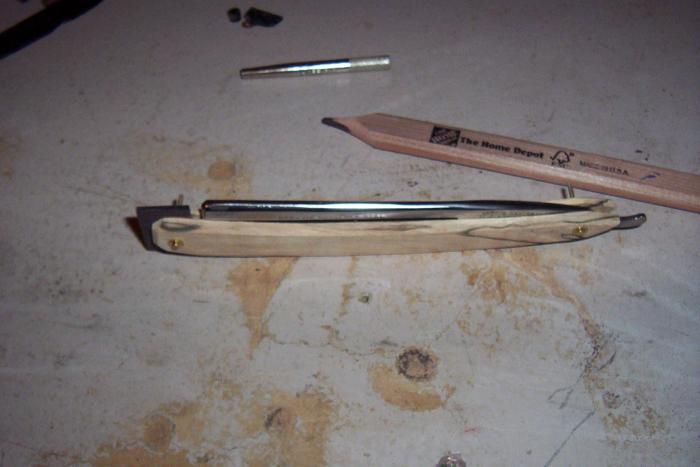
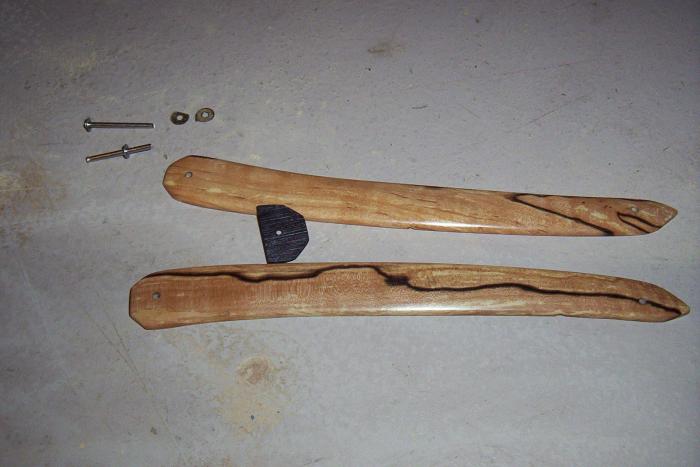
Time to finish the wedge, note the "Mock Up Tang" in the scales now, because I am taking it back to the bench sander to fit the wedge...
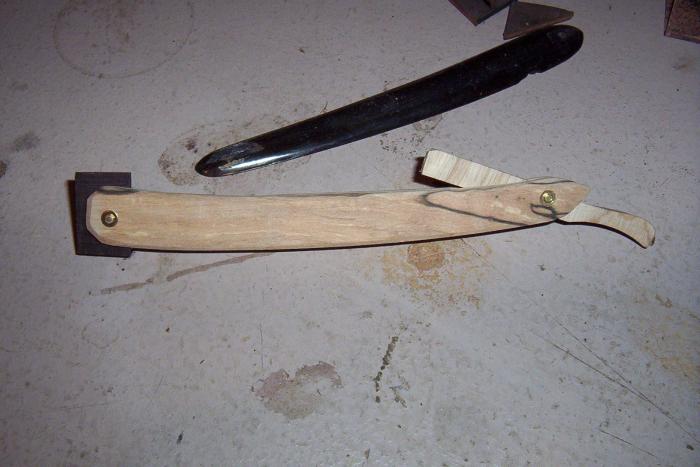

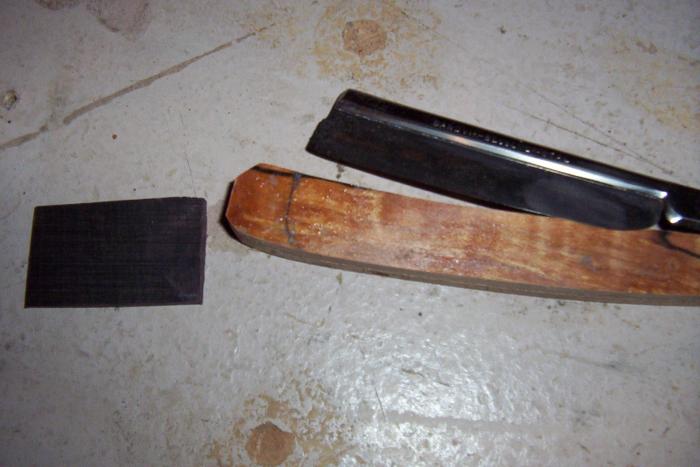
Done and ready to be finished....
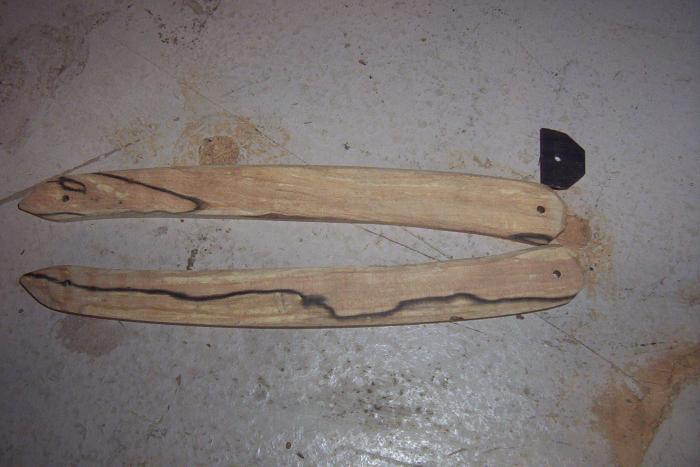
The scales are finished and ready to become a complete razor, How and what you use as a finish is totally up to you, try different things to get the look you want... (How I prep the wood is the only part of this, I can't actually share, as parts of it are proprietory to my Rifle Stocks) the wipe on Poly's from minwax are working very well on the razors....
Last edited by gssixgun; 11-10-2008 at 04:08 AM.
-
The Following 2 Users Say Thank You to gssixgun For This Useful Post:
Malachi306 (01-14-2015), Scatterjoy (03-30-2024)


 Reply With Quote